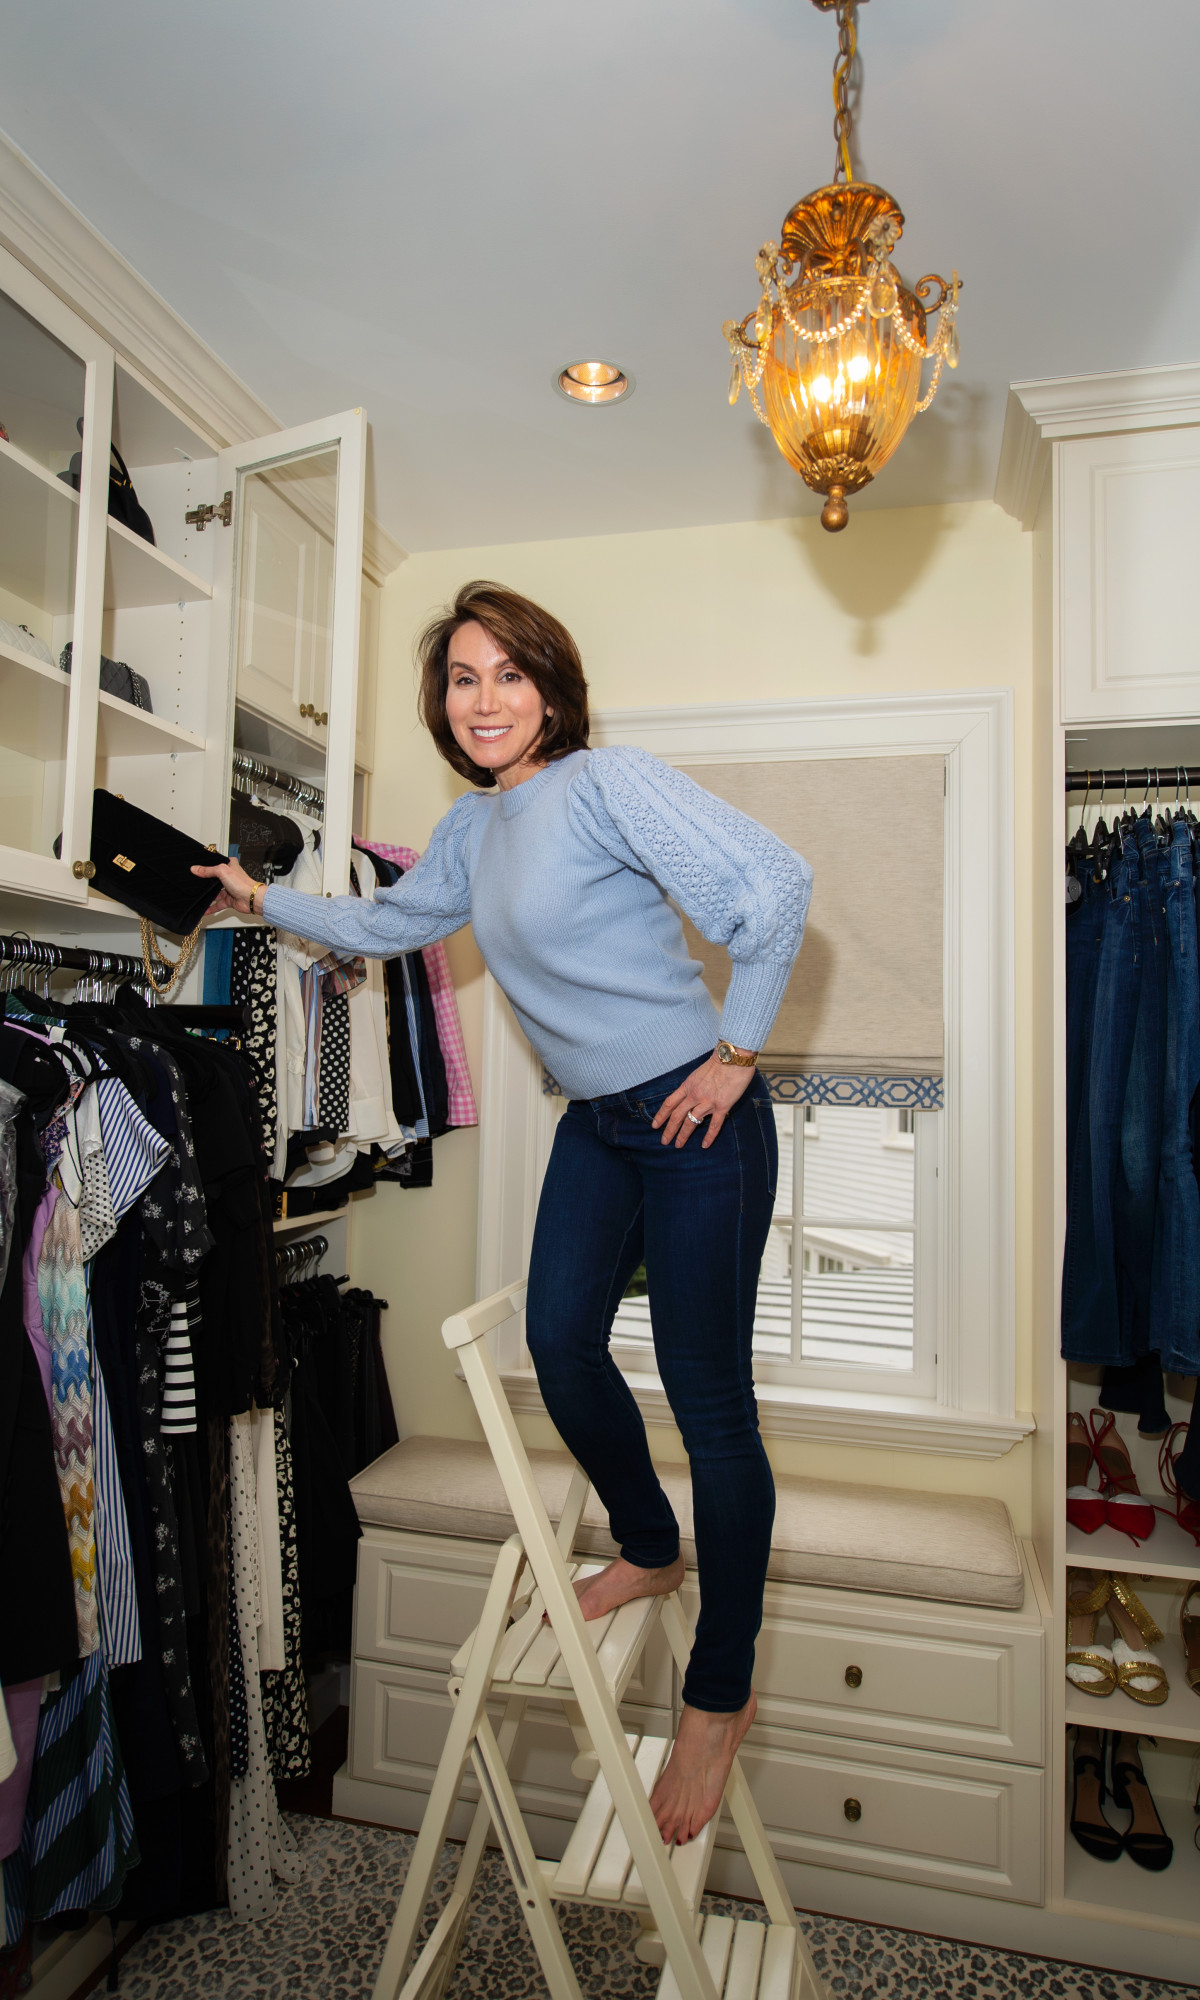
With Shelter in Place well underway, I used the time to clean-up and organize a lot of my neglected personal space. My closet was number one on my list and I asked a personal stylist to help! Here’s a step-by-step guide to wardrobe editing that will make getting dressed for anything fun, fast, and totally decadent.
Change is good! I know that when I get really comfortable, a little change can make things even better. I found myself wearing my same “favorite” sweater and jeans, or blazer and turtleneck combo throughout the chilly months. While I knew it was a good look, I also knew that my body and the style screamed get your chic on girl!! It was time to express myself, be myself in my clothes.
I am a great shopper but I wasn’t so sure that I needed new clothes; I simply wanted my fabulous clothes to work better for me. With racks stuffed to the gills, I had plenty to work with. Plus, restyling my collection of beautiful things was responsible, sustainable, and fun. By cleaning out my closet, I was re-defining my look and how I spent my valuable time in the morning getting dressed.
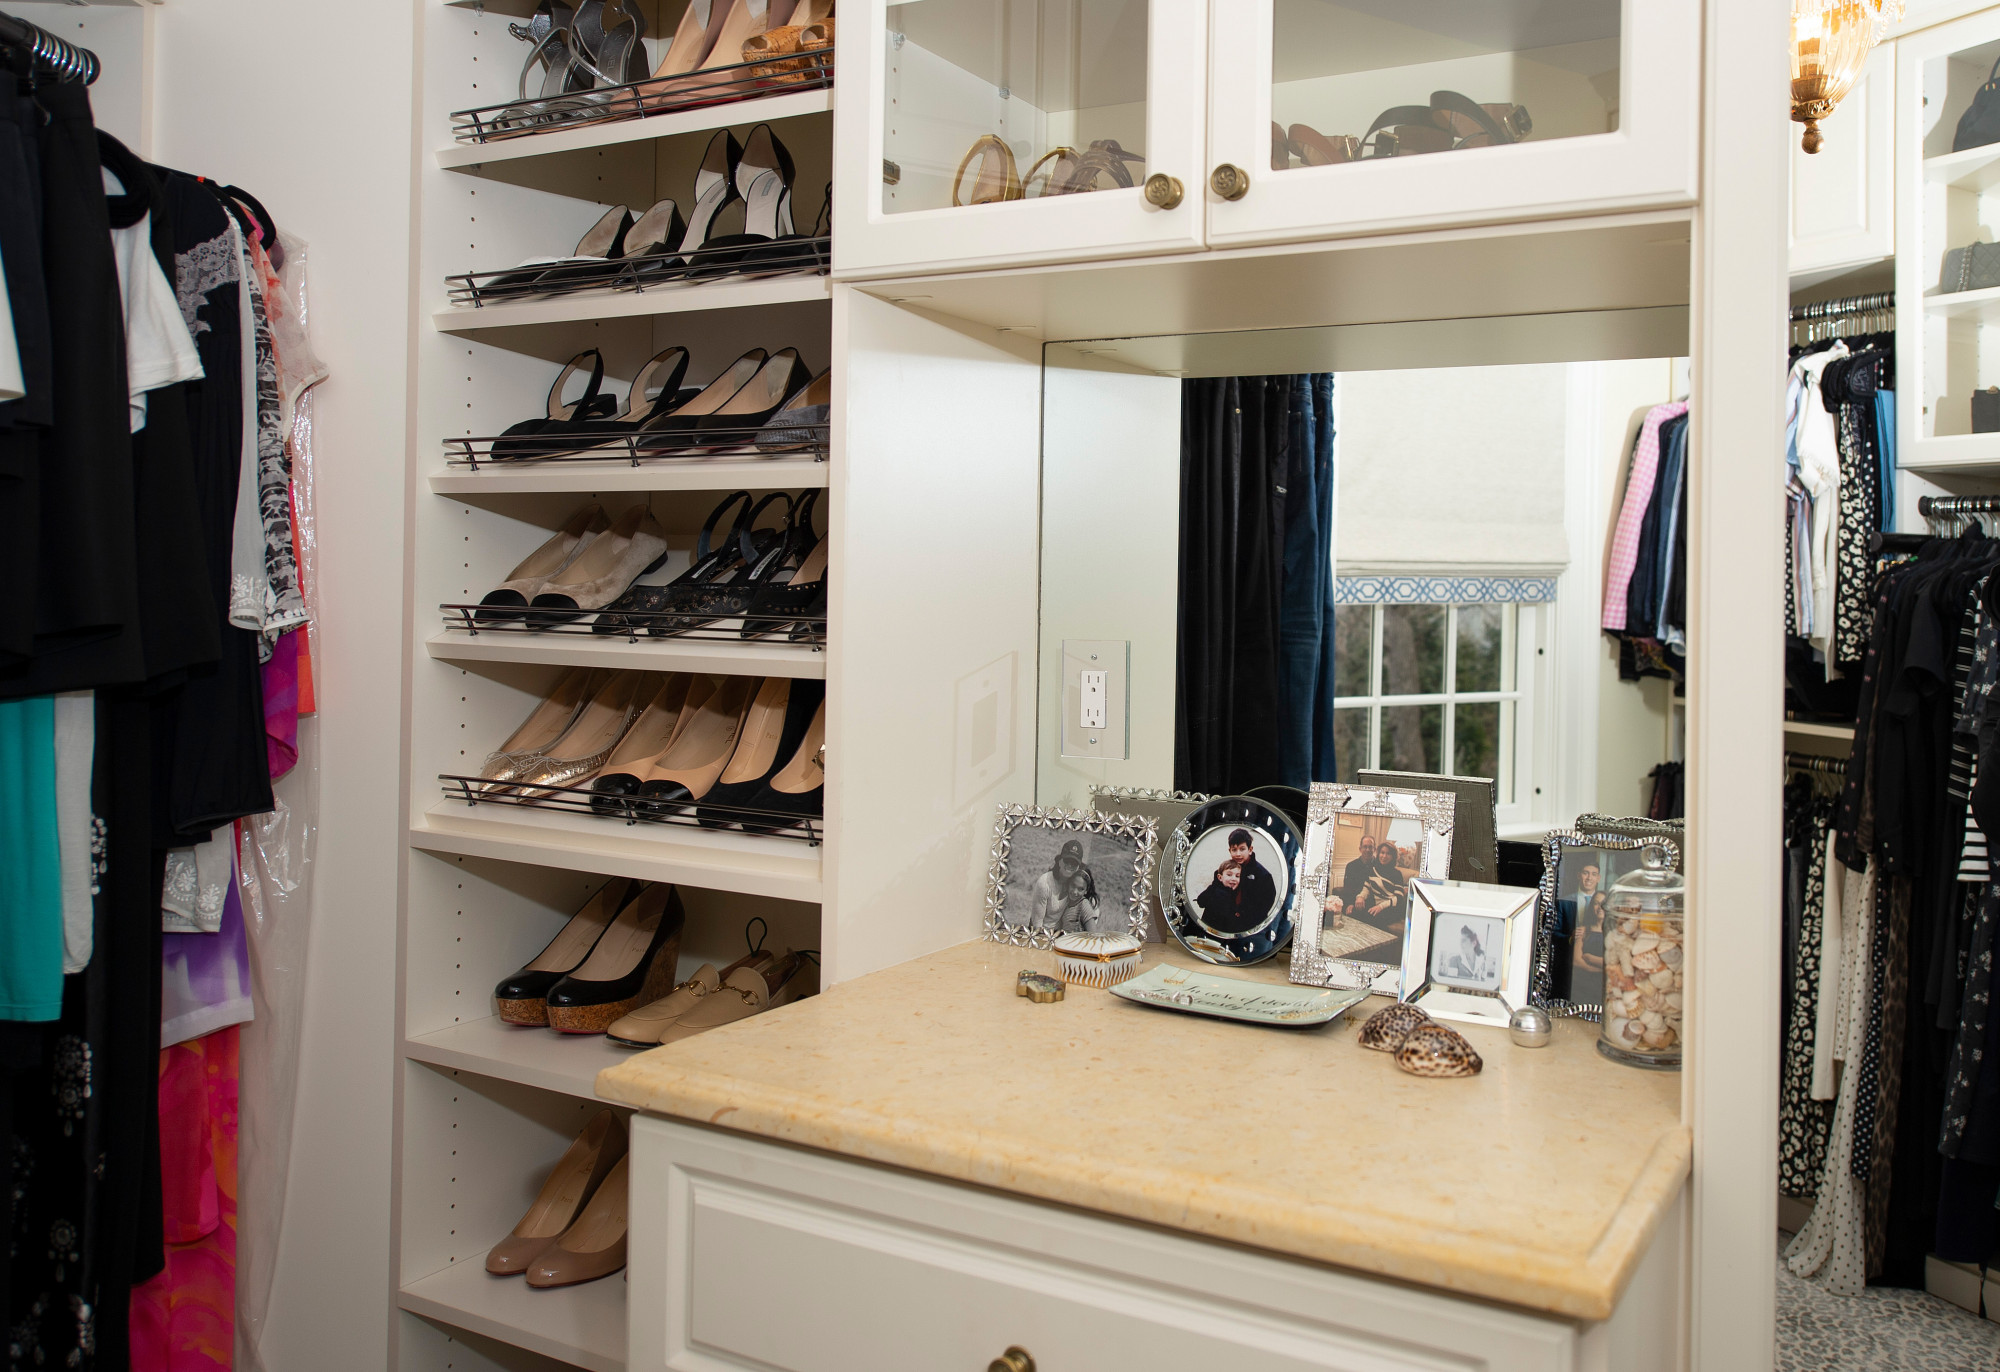
I craved a more decadent ritual of putting myself together every day. Spending time on myself meant that I start with my closet itself. I got new fixtures, added pretty lighting, found glamorous accessories, and added luxurious carpet. With these upgrades, my closet had the features of a morning oasis.
Now, it was time to get down to the nitty-gritty and go through the clothes. I had one goal, I wanted my closet to be organized in a simple and straightforward way. I wanted a totally user-friendly closet filled with clothes that fit, mixed, and matched effortlessly and most importantly, were easy to find. So, I asked my friend Tara Luizzi, a professional stylist and founder of Tarastylesdc to help me with my closet
There was work to do. Tara helped me break down the closet editing steps. Her first words of advice were to take my emotions out of my closet. She was emphatic, “I don’t care if you wore that Lacroix dress to your cousin’s wedding where you met you met your first boyfriend or if you spent your first paycheck on that cracking leather IRO jacket. If they don’t look good, they go…no matter what the cost.”
The rest was easy.
Here were her basic steps:
- Work by season: start by editing clothes that are in the season you’re currently in and move forward seasonally
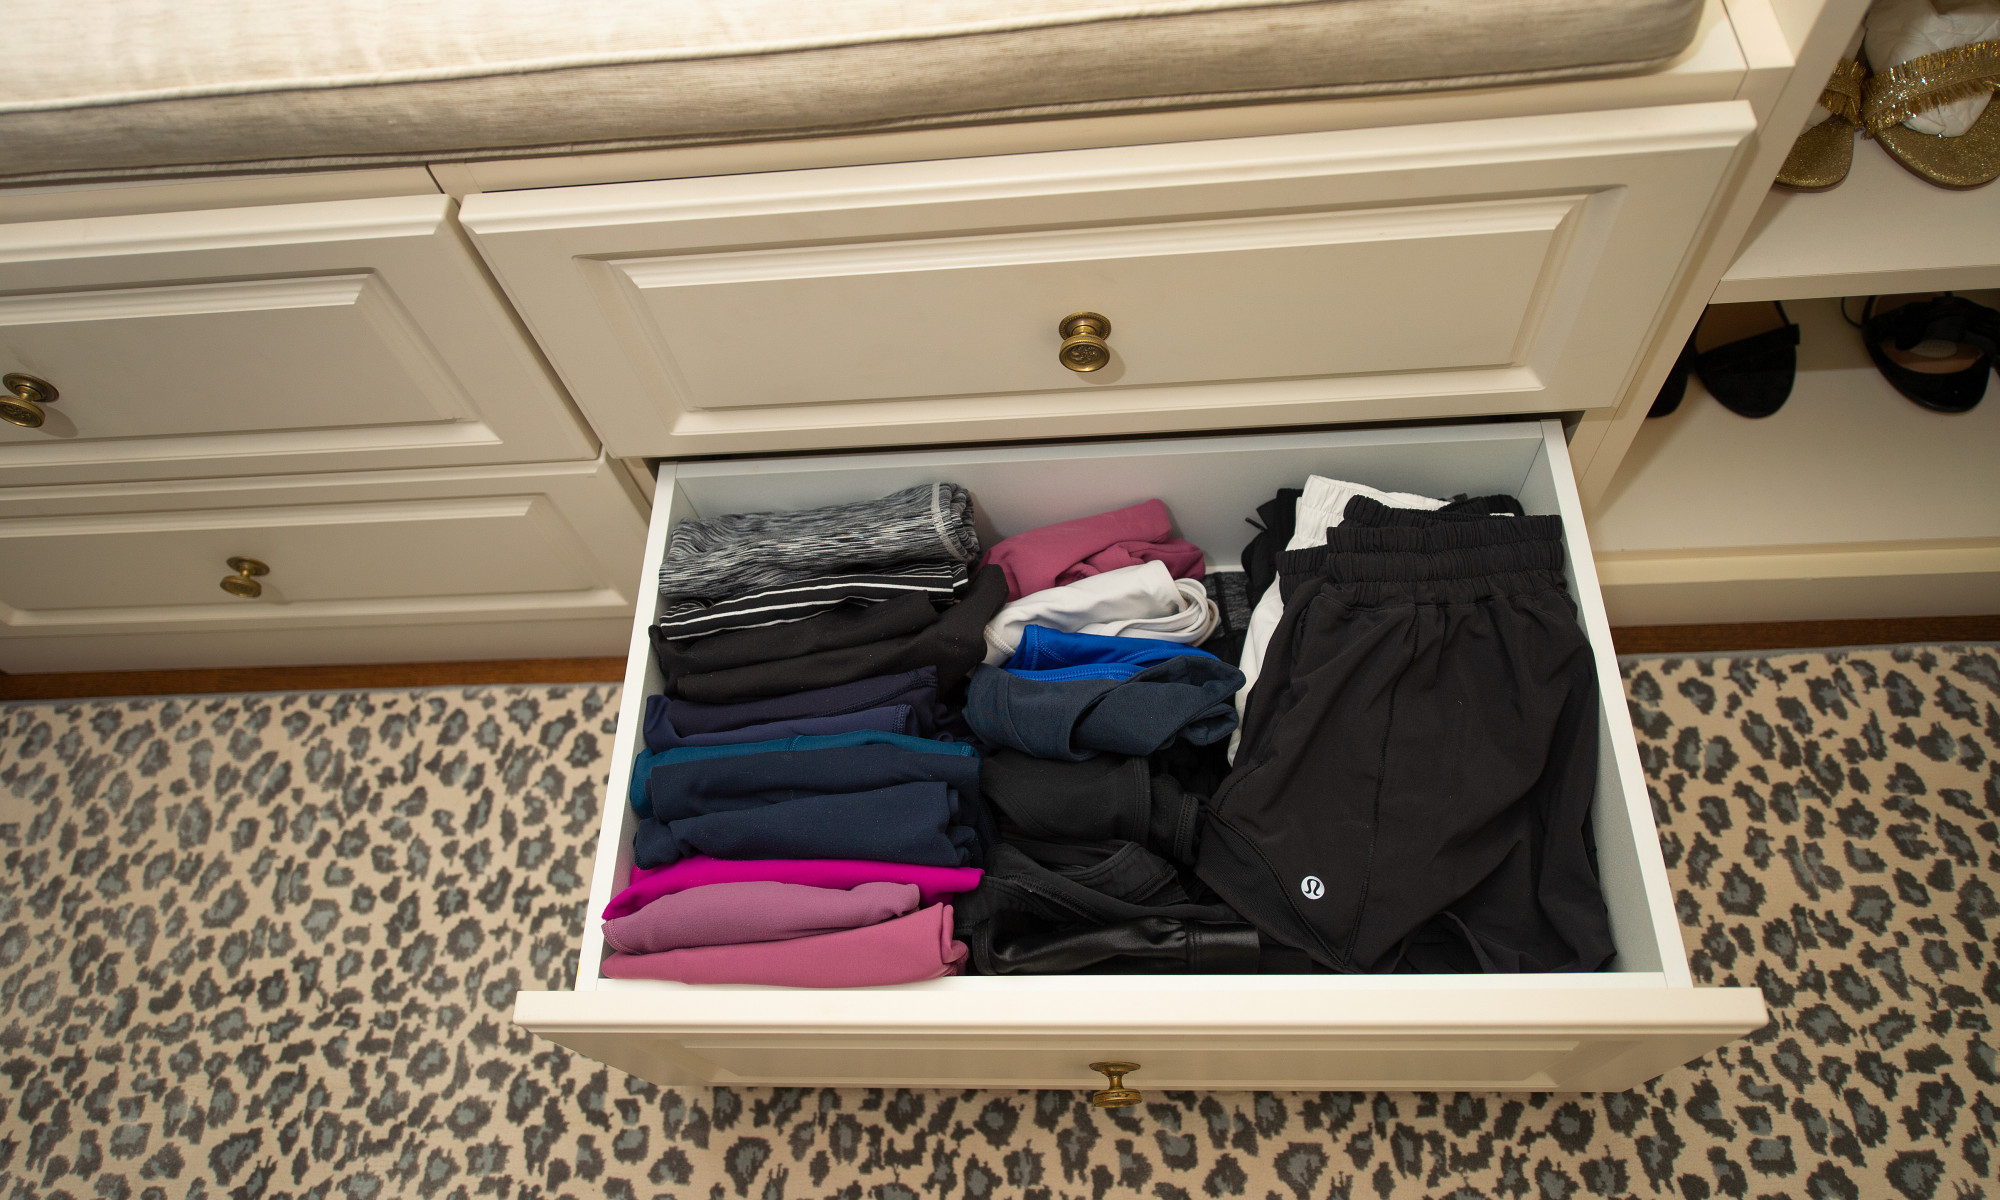
- Pull everything out: Put out all of the clothes in that season out of the closet, lay them on the bed, then sort the pile by clothing type: pants, shorts, shirts, short-sleeved then long-sleeved, sweaters and finally, skirts.
- Mend: Before trying anything on, look for clothes with stains, unfixable rips, missing buttons, and fabric that are not comfortable and remove those clothes from the pile!
- Try on the clothes: In each category, put each item on, look for fit, style (are paper bag waists not for you anymore) and fabric (is there too much shine in that polyblend) and determine if you actually do wear the item (more than once a year)… If you find you’ve answered “no” to any of these criteria, put the item in the “to go” pile outside your bedroom. And if you need a friend to come over and tell you that you’re out of style, a la Carrie Bradshaw and her apartment closet pack-up scene, get one!
- Repeat this process for each of the seasons, fall, winter, spring, and summer
- Return items to your closet by grouping like items together: Once you’ve got piles of desirable, workable clothes for each season, time to return them to your closet. Group “like” items together: all the pants winter to spring, shorts, skirts, then tops. Tops include long-sleeved blouses, short-sleeved blouses, hanging sweaters, jackets, and lastly, of course, dresses (short, then long).
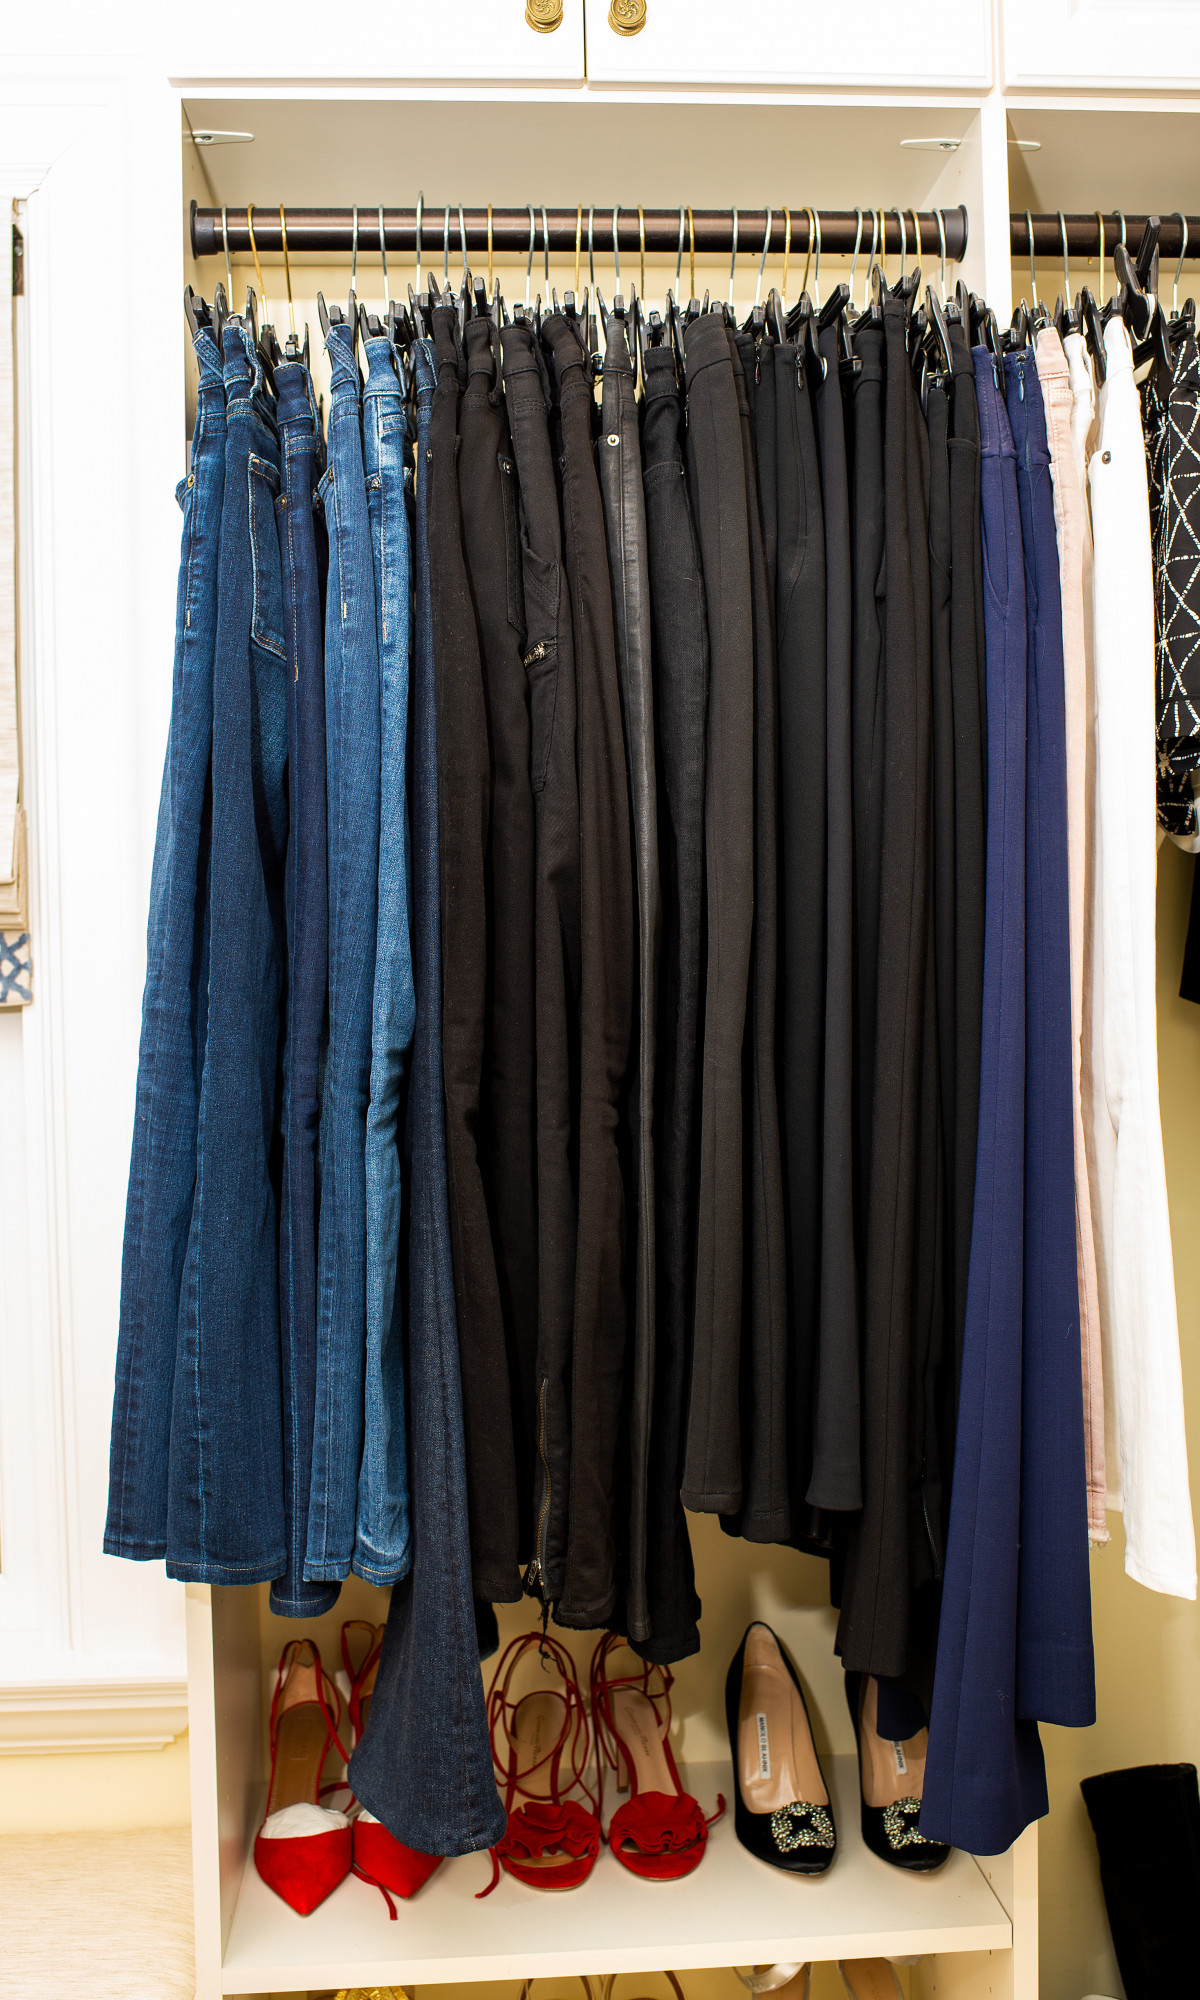
- One step further: Hang each category of clothing in color families to make finding your pieces easier. For example, I hung all of my pants, lightest to darkest: white jeans, denim, navy pants, black pants to black dress pants (I don’t own anything khaki!). Continue with this color pattern in every clothing category.
- Which category do you hang up first? I started with pants because that’s what I put on first and I placed them front and center when I walk in. I build my outfit from the bottom up. How do you build your outfit, your look?
Once everything is up on the rack, going from section to section should be easy and now you’ve got a mental catalog of all of your items!
I took some of the clothes that were in great shape and not worn in a while to a resale shop near me, the rest I donated to the Salvation Army. Another donation option for drop-off locations helping a variety of charities is GreenDrop.com
Happy cleaning and happy giving!


Love this! Going to use these steps for my closet! Thanks!
I’m so happy you could take some good tips to use for your project!!